

Terminating BVV cable isn't just a technical task; it's an art that ensures the safe and efficient operation of electrical systems. As a BVV cable supplier, I've seen firsthand how proper termination can make or break a project. In this blog, I'll share some tips and best practices on how to terminate BVV cable like a pro.
Understanding BVV Cable
Before we dive into the termination process, let's take a quick look at what BVV cable is. BVV stands for Insulated and Sheathed Cable (BVV) Insulated and Sheathed Cable (BVV). It's a type of multi - core sheathed cable commonly used in electrical installations for various applications, such as residential wiring, commercial buildings, and industrial setups.
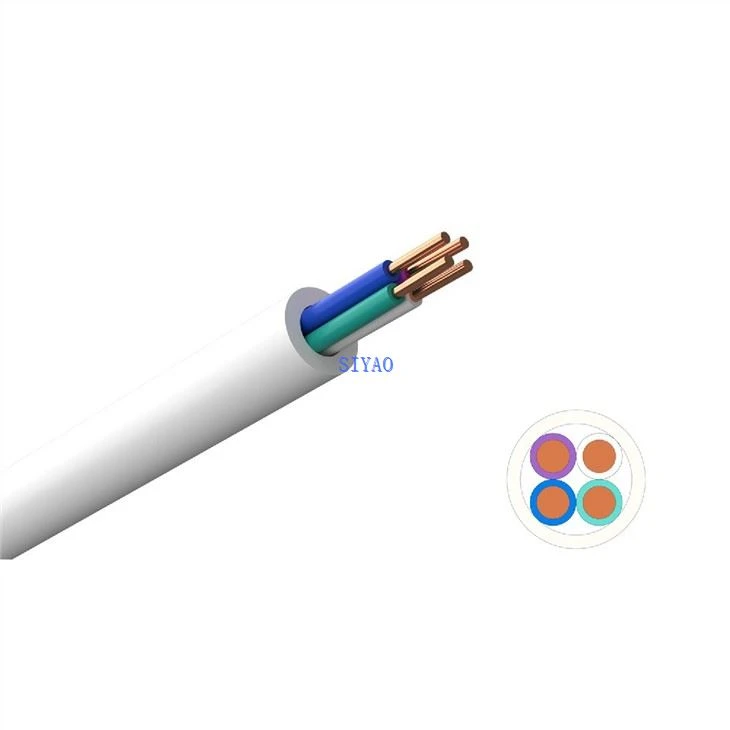
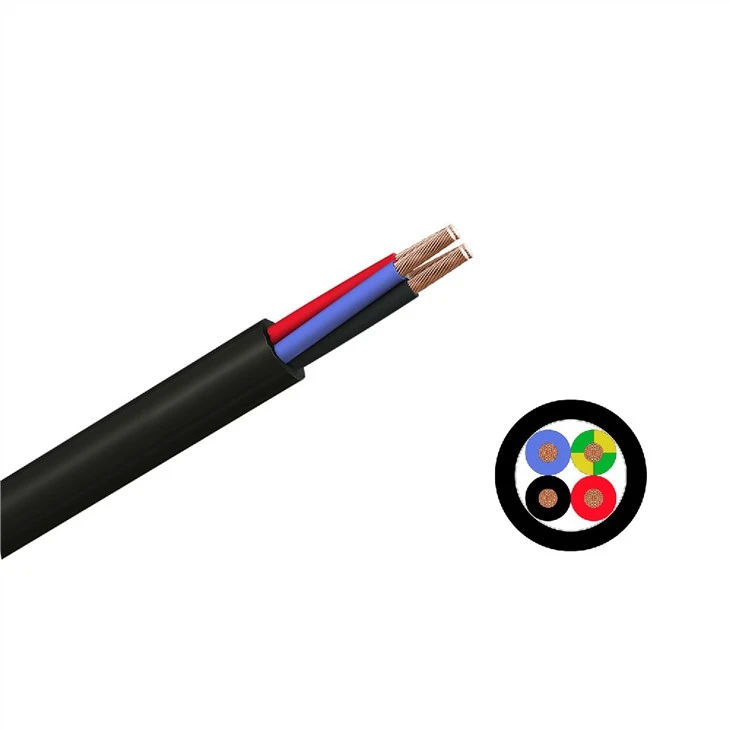
BVV cable typically consists of multiple conductors insulated with a PVC (Polyvinyl Chloride) layer and then enclosed in an outer PVC sheath. This construction provides good electrical insulation and mechanical protection, making it suitable for a wide range of environments.
Tools and Materials You'll Need
To terminate BVV cable, you'll need a few essential tools and materials:
- Cable Cutters: These are used to cut the cable to the desired length. Make sure they are sharp and suitable for the size of the BVV cable you're working with.
- Wire Strippers: You'll need to strip the insulation from the cable conductors. Choose wire strippers with the appropriate gauge range for your BVV cable.
- Insulation Tape: This is used to insulate the exposed conductors after termination to prevent short - circuits.
- Terminal Blocks or Connectors: Depending on your application, you may need terminal blocks, crimp connectors, or other types of connectors to join the cable conductors to other electrical components.
- Electrical Screwdriver: If you're using terminal blocks, an electrical screwdriver will be required to tighten the screws and secure the conductors.
Step - by - Step Termination Process
Step 1: Measure and Cut the Cable
First, measure the length of cable you need for your installation. Leave a little extra length to account for any bends or connections. Then, use your cable cutters to make a clean cut through the cable. Make sure the cut is perpendicular to the cable's axis.
Step 2: Strip the Outer Sheath
Once the cable is cut to length, use a sharp blade or a specialized sheath stripper to carefully remove a section of the outer PVC sheath. Be careful not to damage the inner conductors while doing this. The length of the sheath you remove will depend on the type of connector or terminal block you're using, but typically, it's around 2 - 3 inches.
Step 3: Identify and Separate the Conductors
Inside the outer sheath, you'll find multiple insulated conductors. Identify each conductor according to its color (common colors are brown for live, blue for neutral, and green/yellow for earth). Gently separate the conductors to make them easier to work with.
Step 4: Strip the Conductor Insulation
Using your wire strippers, carefully strip a small section (usually about 0.5 - 1 inch) of the insulation from the end of each conductor. Make sure not to nick or damage the conductor strands during this process.
Step 5: Connect the Conductors
Now it's time to connect the conductors to the appropriate terminal blocks, connectors, or electrical components.
Terminal Blocks: If you're using terminal blocks, loosen the screws on the block. Insert the stripped end of each conductor into the corresponding terminal hole, and then tighten the screws firmly. Make sure the conductor is held securely and there is no exposed wire outside the terminal block.
Crimp Connectors: For crimp connectors, insert the stripped conductor into the connector and use a crimping tool to compress the connector onto the conductor. This creates a secure electrical connection.
Step 6: Insulate the Connections
After making the electrical connections, use insulation tape to cover the exposed conductors and the connection points. Wrap the tape tightly around the conductors to prevent any accidental contact and short - circuits.
Step 7: Test the Connection
Once the termination is complete, it's important to test the connection to ensure it's working properly. You can use a multimeter to check for continuity and proper voltage.
Comparing with Other Cables
It's also worth comparing BVV cable with other similar types of cables, such as Insulated and Sheathed Flexible Cable (RVV) Insulated and Sheathed Flexible Cable (RVV) and Shielded Flexible Cable (RVVP) Shielded Flexible Cable (RVVP).
- RVV Cable: Unlike BVV cable, RVV is more flexible. It's often used in applications where the cable needs to be bent or moved frequently, such as in portable electrical devices or robotic systems. The termination process for RVV is similar to BVV, but you may need to be more careful due to its increased flexibility.
- RVVP Cable: RVVP cable has an additional shielding layer, which provides protection against electromagnetic interference. When terminating RVVP cable, you'll need to properly ground the shield in addition to connecting the conductors. This adds an extra step to the termination process.
Common Mistakes to Avoid
When terminating BVV cable, there are a few common mistakes that you should avoid:
- Over - tightening or Under - tightening: If you over - tighten the screws on terminal blocks or crimp connectors too much, you can damage the conductors. On the other hand, under - tightening can result in a loose connection, which can lead to overheating and potential electrical failures.
- Damaging the Conductors: While stripping the insulation or making connections, be careful not to nick or damage the conductor strands. Damaged conductors can increase resistance and cause problems in the electrical circuit.
- Incorrect Insulation: Not using enough insulation tape or applying it incorrectly can expose the conductors and create a safety hazard. Make sure to wrap the tape tightly and cover all exposed areas.
Conclusion
Terminating BVV cable is a crucial step in any electrical installation. By following the steps outlined in this blog, using the right tools and materials, and avoiding common mistakes, you can ensure a safe and reliable termination.
If you're in the market for high - quality BVV cable or have any questions about cable termination, feel free to reach out. We're here to help you with all your cable needs and can provide expert advice on the best solutions for your projects. Whether you're a DIY enthusiast or a professional electrician, we've got the products and knowledge to support you.