Yo! I'm an RV cable supplier, and I've seen my fair share of folks scratching their heads over replacing RV cables. It's not as scary as it might seem, though. In this blog, I'll walk you through the whole process, step by step.
Why Replace Your RV Cable?
First off, let's talk about why you might need to replace your RV cable. Over time, cables can wear out due to a bunch of factors. Exposure to the elements, constant bending and flexing, and even rodents chewing on them can cause damage. If you notice frayed wires, loose connections, or a drop in electrical performance, it's probably time for a replacement.
Using a damaged cable can be dangerous. It can lead to electrical shorts, which might start a fire. No one wants that! So, it's better to be safe than sorry and replace your cable when it shows signs of wear.
Choosing the Right RV Cable
Before you start replacing the cable, you need to pick the right one. There are a few things to consider.
Cable Type
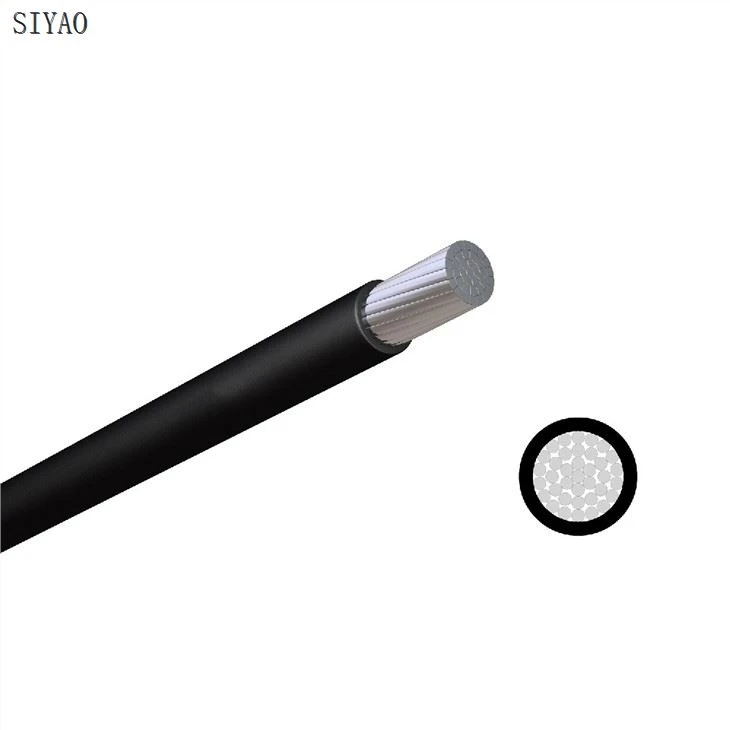
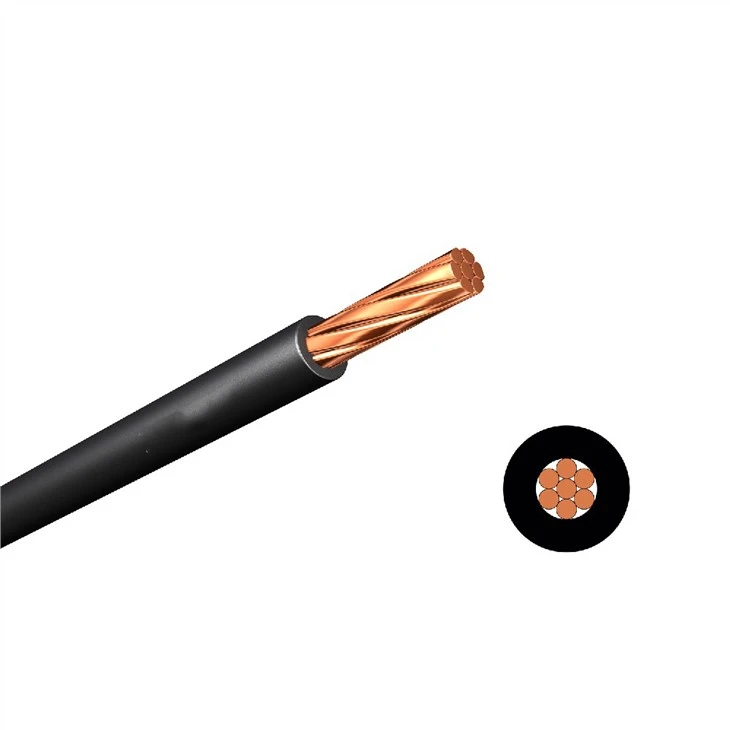
There are different types of cables available, and each has its own uses. For example, the Flexible Cable for Connecting ( RV ) is great for general connections in your RV. It's flexible, which makes it easy to work with, and it can handle the electrical demands of most RV appliances.
If you're looking for a cable that can withstand high temperatures, the High Temperature Resistant Cable is a good choice. This type of cable is often used in areas where there's a lot of heat, like near the engine or in a generator compartment.
The PVC Insulated Copper Cable (BV) is another common option. It's durable and provides good electrical conductivity. And if you need a cable that's even more flexible than the standard ones, the PVC Insulated Flexible Cable(BVR) is a great pick.
Cable Gauge
The gauge of the cable is also important. It determines how much electrical current the cable can carry safely. A lower gauge number means a thicker cable, which can handle more current. You need to choose a cable with the right gauge for your RV's electrical system. Check your RV's manual or consult an electrician to find out what gauge you need.
Tools You'll Need
Once you've got the right cable, it's time to gather the tools you'll need for the replacement. Here's a list of the basics:
- Wire cutters: You'll use these to cut the old cable and the new one to the right length.
- Wire strippers: These are essential for removing the insulation from the ends of the cable.
- Screwdrivers: You might need different sizes to remove the covers and access the cable connections.
- Electrical tape: This will help you insulate the connections and prevent any electrical shorts.
- A voltage tester: Before you start working, you need to make sure the power is off. A voltage tester will let you check if there's any electricity flowing through the cable.
Step-by-Step Replacement Process
Step 1: Turn Off the Power
This is super important! You don't want to get electrocuted while you're working on the cable. Locate the main electrical switch for your RV and turn it off. Then, use a voltage tester to double-check that there's no power in the cable.
Step 2: Find the Old Cable
Look for the cable that you need to replace. It might be hidden behind panels or under the flooring. You might need to remove some covers or trim to get to it. Take your time and be careful not to damage any other components as you're looking.
Step 3: Remove the Old Cable
Once you've found the old cable, you need to disconnect it from the electrical connections. Use your screwdriver to remove the screws that hold the cable in place. Then, gently pull the cable out. Make sure you note down how the cable was connected so you can hook up the new one in the same way.
Step 4: Measure and Cut the New Cable
Measure the length of the old cable and cut the new one to the same length. It's a good idea to add a little extra, just in case. Use your wire cutters to make a clean cut.
Step 5: Strip the Wires
Use the wire strippers to remove about half an inch of insulation from the ends of the new cable. Be careful not to cut into the wire itself.
Step 6: Connect the New Cable
Connect the new cable to the electrical connections in the same way the old one was connected. Make sure the connections are tight. You can use a screwdriver to secure the screws.
Step 7: Insulate the Connections
Once the cable is connected, wrap electrical tape around the connections to insulate them. This will prevent any electrical shorts and keep everything safe.
Step 8: Test the Connection
Before you put everything back together, turn the power back on and use a voltage tester to make sure the new cable is working properly. If everything checks out, you're good to go!
Step 9: Reassemble Everything
Put the covers and trim back in place. Make sure everything is secure and looks neat.
Tips and Tricks
- Label the connections: When you're removing the old cable, label the connections so you don't get confused when you're hooking up the new one.
- Work in a well-lit area: You'll be dealing with small wires and connections, so it's important to have good lighting.
- Take your time: Rushing through the process can lead to mistakes. Take your time and do it right.
Conclusion
Replacing an RV cable might seem like a daunting task, but if you follow these steps, you'll be able to do it like a pro. Remember, safety is the most important thing. If you're not comfortable working with electricity, it's always a good idea to hire a professional.
If you're in the market for high-quality RV cables, we've got you covered. We're a leading RV cable supplier, and we offer a wide range of cables to meet your needs. Whether you need a flexible cable for general connections or a high-temperature resistant cable, we've got it. Reach out to us for more information and to discuss your specific requirements. We're here to help you find the perfect cable for your RV.